We have already seen the benefits of having network redundancy on a small computer such as the Raspberry Pi in this article. You definitely want to check it out before proceeding.
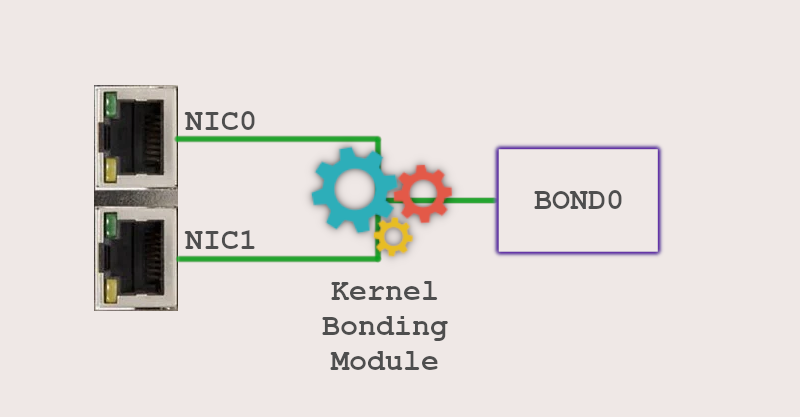
Using a dual NIC (Network Interface Card) system with ifenslave is a way to create a bonded NIC, which can provide additional network redundancy and failover capabilities. Ifenslave is a Linux kernel module that allows multiple NICs to be combined into a single bonded interface, so that they appear as a single NIC to the system.
When using ifenslave with a dual NIC system, the two NICs are configured as slaves to a virtual NIC known as the "bonded NIC". The two physical NICs will continue to function independently, however, the bonded NIC will be seen as a single NIC, this way the system will use the bonded NIC as the default NIC.
It is important to note that the configuration of the bond interface and the NICs should match, such as the same speed, duplex and MTU (Maximum Transmission Unit) configuration. Also, the network switch that connects to these NICs should support the NIC bonding and be configured accordingly; however, in my tests, I observed that even a cheap home switch worked properly with bonding configured on a Raspberry Pi.
Install and configure ifenslave on a Raspberry Pi
This guide assumes that a Raspberry Pi has been installed with OS Lite as per this guide and that DHCP has been disabled. In my tests, I could not make it work if DHCP was enabled and the Raspberry Pi NIC was configured with a dynamic IP address.
Install ifenslave
sudo apt update
sudo apt upgrade
sudo apt install ifenslave
Edit the file modules.conf to add the bonding kernel module, just type bonding at the end of the file
sudo nano /etc/modules-load.d/modules.conf

Reboot the Raspberry Pi
sudo reboot
Verify that the kernel module has been loaded
sudo lsmod | grep bonding

Assuming that DHCP has already been disabled, edit the interfaces config file
sudo nano /etc/network/interfaces
and make it looking like this, ajusting the IP addresses according to your network settings.
The addresses showed in the configuration below are for example purposes only.
auto lo
iface lo inet loopback

auto bond0
iface bond0 inet static
    address 192.168.1.100
    netmask 255.255.255.0
    network 192.168.1.0
    gateway 192.168.1.1
    dns-nameservers 192.168.1.1
    bond-mode active-backup
    bond-fail_over_mac active
    bond-slaves eth0 eth1
    bond-primary eth0
    bond-primary_reselect always
    bond-miimon 250
    bond-downdelay 200
    bond-updelay 200
Reboot the Raspberry Pi
sudo reboot
If everything went well, your Raspberry Pi should still be reachable at the usual IP address.
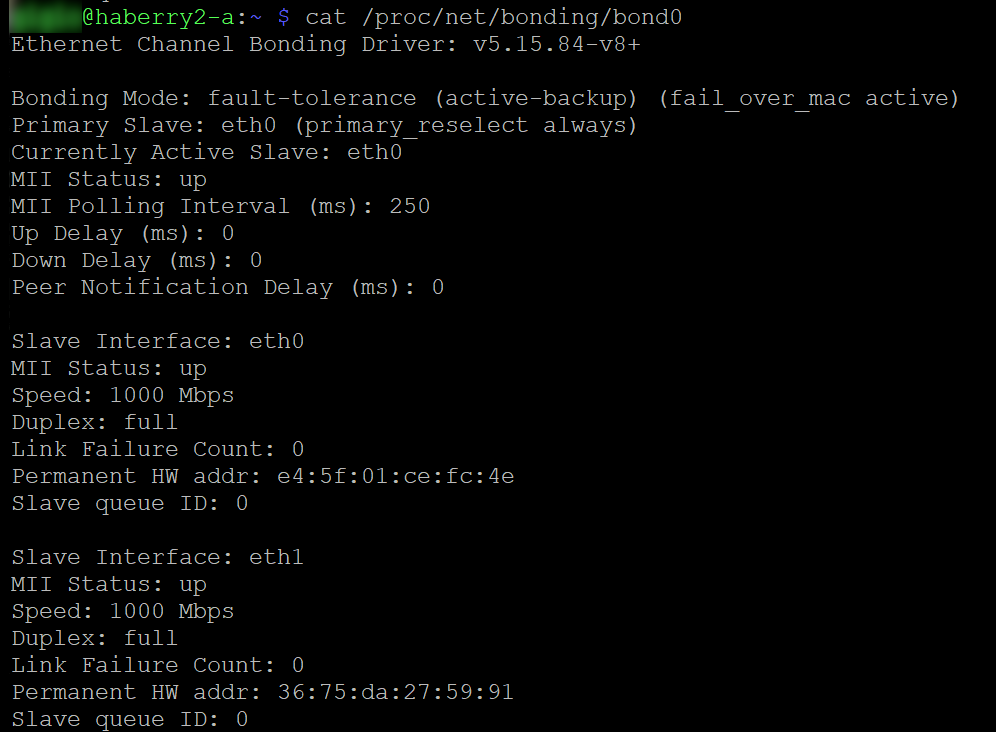
You can check the bonding status with this command
cat /proc/net/bonding/bond0

Let's do a test to validate redundancy. From another machine on the same network, try to set a continuous ping to the Raspberry Pi IP address.
ping 192.168.1.100
If using a Windows machine the command would be
ping 192.168.1.100 -t
Now try to unplug one cable at a time. You will see that the ping never stops, meaning that your Raspberry Pi has achieved network redundancy!

